In this tutorial, you will learn the steps needed to set up a basic FeedbackTree Flow.
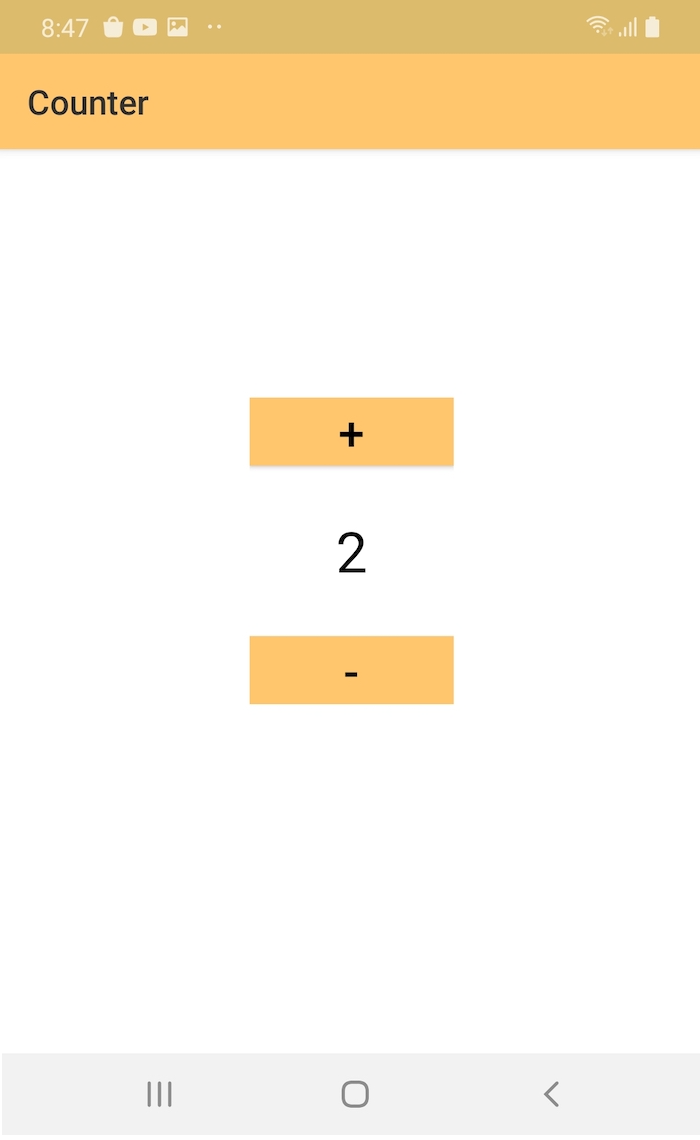
You will build a screen that has a counter and two buttons to increment and decrement the counter.
Getting Started
Start by downloading the tutorial materials from here and open the starter project in Android Studio.
Let's start by adding FeedbackTree, RxJava, and, other RxJava related dependencies to the build.gradle (app) file.
dependencies {
    ...

	  // FeedbackTree
  	implementation "com.github.eliekarouz.feedbacktree:feedbacktree:0.13.1"
		implementation "com.github.eliekarouz.feedbacktree:core:0.13.1"

		// RxJava/Kotlin
    implementation "io.reactivex.rxjava2:rxandroid:2.1.1"
    implementation "io.reactivex.rxjava2:rxkotlin:2.3.0"

     // RxBinding (not all of them are used)
    implementation 'com.jakewharton.rxbinding3:rxbinding:3.0.0'
    implementation 'com.jakewharton.rxbinding3:rxbinding-core:3.0.0'
    implementation 'com.jakewharton.rxbinding3:rxbinding-appcompat:3.0.0'
    implementation 'com.jakewharton.rxbinding3:rxbinding-drawerlayout:3.0.0'
    implementation 'com.jakewharton.rxbinding3:rxbinding-leanback:3.0.0'
    implementation 'com.jakewharton.rxbinding3:rxbinding-recyclerview:3.0.0'
    implementation 'com.jakewharton.rxbinding3:rxbinding-slidingpanelayout:3.0.0'
    implementation 'com.jakewharton.rxbinding3:rxbinding-swiperefreshlayout:3.0.0'
    implementation 'com.jakewharton.rxbinding3:rxbinding-viewpager:3.0.0'
}
Note that the library is published to Maven Central. You might also need to add to your build.gradle (.)
allprojects {
  repositories {
    ...
    mavenCentral()
  }
}
Although it is a very simple screen, and, we might not use the full power of FeedbackTree, this tutorials provides you a solid foundation to FeedbackTree.
State and Events
What is a State?
A state is the condition your software is in at a specific time. In the context of this tutorial, it is just the value of the counter.
In Kotlin, states can be represented using data classes, enums, sealed classes or even primitive types . The latter is rarely used in practice.
What is an Event?
An Event is the external input that will allow the software to transition from one state to another. In the context of this tutorial, you have two events representing the clicks on the increment or decrement buttons.
In Kotlin, events are usually represented with sealed classes
Let's go back to our Counter example, and write the state and events in Kotlin:
data class State(
    val counter: Int
)

sealed class Event {
    object Increment : Event()
    object Decrement : Event()
}
Note: We could have just used an
Intto represent the state but it is really rare in practice to have one primitive type as a state, that's why we will stick with adata class.
Stepper
If you haven't noticed yet, the counter is a val and I assume you are wondering how we will update the state when the attributes are immutable. We won't, we will just create a new state!
In FeedbackTree or more generally with state machines, an event "advances" the state machine to a new state. In some cases, the event can cause the state machine to complete. We call this transformation a Stepper.
A stepper is a pure function with the following signature: (state: State, event: Event) -> Step<State, Output>.
In other terms, the stepper takes the current state your in and the event that occured, and, produces a Step which is either the new state we will get in next or the end of state machine/flow.
If we want to write the write the stepper for the Counter tutorial,
fun stepper(state: State, event: Event): Step<State, Nothing> { // 1
    return when (event) {
        Event.Increment -> state.copy( // 2
            counter = state.counter + 1
        ).advance() // 3
        Event.Decrement -> state.copy(
            counter = state.counter - 1
        ).advance()
    }
}
Let's take a closer look code above:
- The first generic argument of the
StepisState. The second generic argument is of typeNothing. It is the output of the state machine. When it'sNothingit means that the state machine cannot complete. - We are using the
copyfeature ofdata classesto create a new state with a differentcountervalue. state.advance()is a syntactic sugar that converts the new state into aStepso that it can be returned to theStepper.
What is FeedbackTree ?
FeedbackTree is based on two core concepts a Flow and a Declarative UI.
Here's a diagram that shows how FeedbackTree works when applied to the Counter example:

What is a Flow?
A Flow kickstarts with some Input and produces some Output. Although we won't be using the Input/Output concept in this tutorial, it will come handy in future tutorials.
A Flow wraps the state machine: the state, the events, and, the stepper.
The Flow uses Feedback Loops to perform network calls, database operations, bluetooth... More on this will come in next tutorials.
At each state we are in, the Flow will tell what "Screen" we should render on the UI. The screen is a simple data class that will revisit in depth in the next sections.
The Declarative UI
FeedbackTree UI rendering engine takes the "screens" generated by the Flow and creates the corresponding Android.View. Once the view is created, it will take care of updating it with the new values.
The Counter Flow
In the package counter, create a file called CounterFlow.kt and the code below to it:
import com.feedbacktree.flow.core.Flow
import com.feedbacktree.flow.core.advance

val CounterFlow = Flow<Unit, State, Event, Nothing, CounterScreen>( // 1
   id = "CounterFlow",
   initialState = { State(counter = 0) }, // 2
    stepper = { state, event -> // 3
        when (event) {
            Event.Increment -> state.copy(
                counter = state.counter + 1
            ).advance()
            Event.Decrement -> state.copy(
                counter = state.counter - 1
            ).advance()
        }
    },
    feedbacks = listOf(), // 4
    render = { state, context -> // 5
        CounterScreen(state, context.sink)
    }
)

data class State(
    val counter: Int
)

sealed class Event {
    object Increment : Event()
    object Decrement : Event()
}

data class CounterScreen(
    private val state: State,
    val sink: (Event) -> Unit // 6
) {
    val counterText: String = state.counter.toString() // 7
}
Here's the breakdown of each component:
CounterFlowis an immutable variable of typeFlow. TheFlowwraps the different component needed to kickstart the state machine, update it, and render the current state on the UI. In the next tutorials, will see that theFlowshave also another purpose; They take an input and produce an output when they complete.- The
initialStateis a function of type(Input) -> State. TheInputin this case is of typeUnit. Having a dynamic input allows you to start the same flow with different arguments. - For small flows, steppers can be written this way but when the flow gets bigger, it's usually preferable to spit them into a separate function.
feedbacksare used to perform non-UI side effects, like network calls, database operations, bluetooth... We won't have non-UI effects in this tutorial.renderis used to describe what should be displayed on the UI. For instance, this flow will render theCounterScreendata class. FeedbackTree will take care of converting that data class into aandroid.Viewand show it on the UI. The returned "Screens" data class usually hold all the properties needed to fill/render the UI.sinkallows the you to push UI events, like clicks, back to the flow.- The
CounterScreencontains the properties that we are going to use to render the UI. For instance,counterTextwill be used to set thecounterTextView.textproperty.
The Counter UI
The CounterFlow produces a CounterScreen for each State. Obviously, the different CounterScreen will have different counterText values. What we need to complete the puzzle is some code that will create the corresponding Layout, and, update its element when the state updates.
Let's add to the counter package, next to the CounterFlow.kt a new file called CounterLayoutBinder.kt. Add this code to it:
import android.widget.Button
import android.widget.TextView
import com.feedbacktree.flow.ui.views.LayoutBinder
import com.feedbacktree.tutorials.R
import com.jakewharton.rxbinding3.view.clicks
import io.reactivex.Observable

// 1
val CounterLayoutBinder = LayoutBinder.create(
    layoutId = R.layout.counter,
    sink = CounterScreen::sink
) { view ->

    // 2
    val counterTextView = view.findViewById<TextView>(R.id.counterTextView)
    val incrementButton = view.findViewById<Button>(R.id.incrementButton)
    val decrementButton = view.findViewById<Button>(R.id.decrementButton)

    // 3
    bind { screen: Observable<CounterScreen> ->
        // 4
        subscriptions = listOf(
            screen.map { it.counterText }.subscribe { counterTextView.text = it }
        )
        // 5
        events = listOf(
            incrementButton.clicks().map { Event.Increment },
            decrementButton.clicks().map { Event.Decrement }
        )
    }
}
The breakdown of the code above:
- Create a variable called
CounterLayoutBinderand useLayoutBinder.createto create the UI binding logic that will:- Inflate
R.layout.counterwhen aCounterScreenis produced. - Use the
CounterScreen::sinkproperty to forward UI events back to the flow. - Update the UI elements everytime a new
CounterScreenis produced by the flow.
- Inflate
- Extract the views using
findViewById. Note that you have to useview.findViewById - FeedbackTree provides a list of feedback loop builders like the
bindmethod. We will see other operators in future tutorials. A UI feedback loop or simply a feedback, allows you to observe eachCounterScreenbeing emitted by theFlowand produce correspondingEventsthat will be pushed back to theFlow. - The bind gives you
screenwhich is anObsevable<CounterScreen>. You can subscribe to the screens being produced by the Flow in order to update the UI elements. Just like here where we update the TextView from the CounterScreen.counterText:
screen.map { it.counterText }.subscribe { counterTextView.text = it } - UI clicks are being mapped to
Events. When the layout is inflated, we will subscribe to the events and will forward them to theFlow.
Note: The xml layout has been added to the starter project
Starting the Flow
Let's modify the MainActivity.kt to kickstart the CounterFlow:
import androidx.appcompat.app.AppCompatActivity
import android.os.Bundle
import com.feedbacktree.flow.core.startFlow
import com.feedbacktree.flow.ui.views.core.ViewRegistry
import com.feedbacktree.tutorials.flows.counter.CounterFlow
import com.feedbacktree.tutorials.flows.counter.CounterLayoutBinder
import io.reactivex.disposables.Disposable

class MainActivity : AppCompatActivity() {

    var disposable: Disposable? = null

    override fun onCreate(savedInstanceState: Bundle?) {
        super.onCreate(savedInstanceState)
        val viewRegistry = ViewRegistry( // 1
            CounterLayoutBinder // 2
        )
        disposable = startFlow(flow = CounterFlow, // 3
            viewRegistry = viewRegistry)
    }

    override fun onPause() {
        super.onPause()
        // 3
        if (isFinishing) {
            disposable?.dispose()
            disposable = null
        }
    }
}
- A
ViewRegistryis a lookup table that FeedbackTree uses to create the corresponding layout when someScreenis produced by theFlow - We are registering the
CounterLayoutBinderin theviewRegistryvariable. - Use the
Activity.startFlowmethod to start theCounterFlow. - Pass the
viewRegistryso that the FeedbackTree knows how to render theCounterScreensthat will be produced by theCounterFlow. - Terminate the flow when the activity finishes.
No need to panic! You don't have to create an Activity for each flow. We will see in the next tutorials that you can use only one Activity for the whole Application and your Activity will still never grow more than a few lines of code.
Counter Cannot Go Negative:
Let's consider you are counting the number of people in a birthday party. You cannot have negative numbers! This can be easily done by modifying the stepper:
when (event) {
    Event.Increment -> state.copy(
        counter = state.counter + 1
    ).advance()
    Event.Decrement -> state.copy(
        counter = kotlin.math.max(0, state.counter - 1) // prevents the state going negative
    ).advance()
}
Let's say we want to hide the "-" button when we reach 0.
In the CounterScreen, we will add a property isDecrementButtonInvisible
data class CounterScreen(
    private val state: State,
    val sink: (Event) -> Unit
) {
    val counterText: String = state.counter.toString()
    val isDecrementButtonInvisible: Boolean = state.counter == 0
}
In the CounterLayoutBinder subscribe to isDecrementButtonInvisible
subscriptions = listOf(
  	screen.map { it.counterText }.subscribe { counterTextView.text = it },
		screen.map { it.isDecrementButtonInvisible }.subscribe { decrementButton.isInvisible = it }
)
Note:
View.isInvisibleis part of the android kotlin extensions, you might need to add the below to your build.gradle (app) dependencies:implementation 'androidx.core:core-ktx:1.3.2'
Where to Go From Here?
I hope that you were able to successfully digest the core ideas. It's fine if you still have a lot of question marks.
You can check the next tutorial where you will learn more about the Feedbacks.
The full code can be downloaded from here